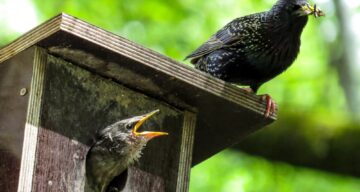
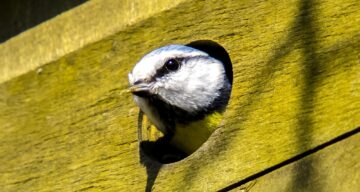
Build a nesting box
Help our feathered friends this National Nest Boxing Week by building a bird box. It’s a simple and effective way to encourage more wildlife into your garden while helping to support birds during their breeding season.
Posted on 18th February 2025
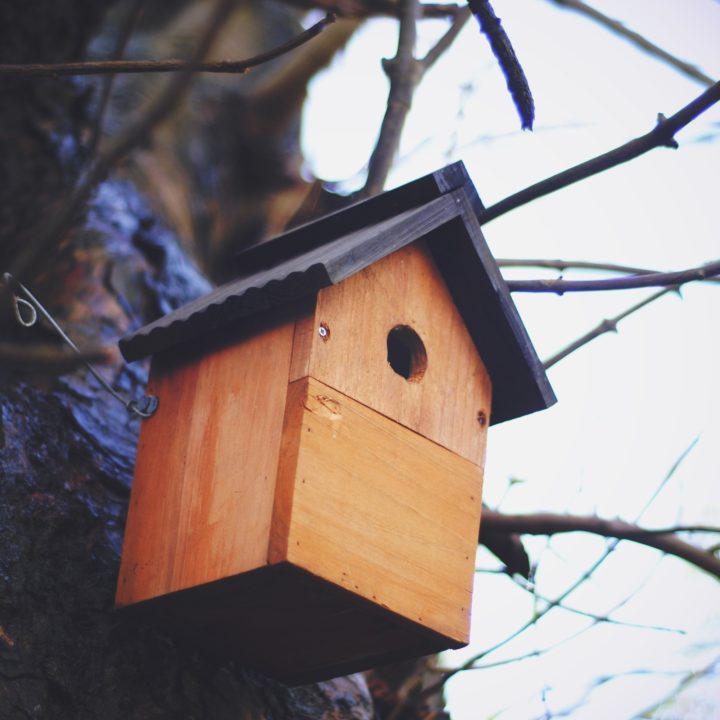
When making your nesting box remember that the birds don’t mind how good your carpentry skills are or what your nest box looks like - they just want somewhere safe and warm to raise their hatchlings.
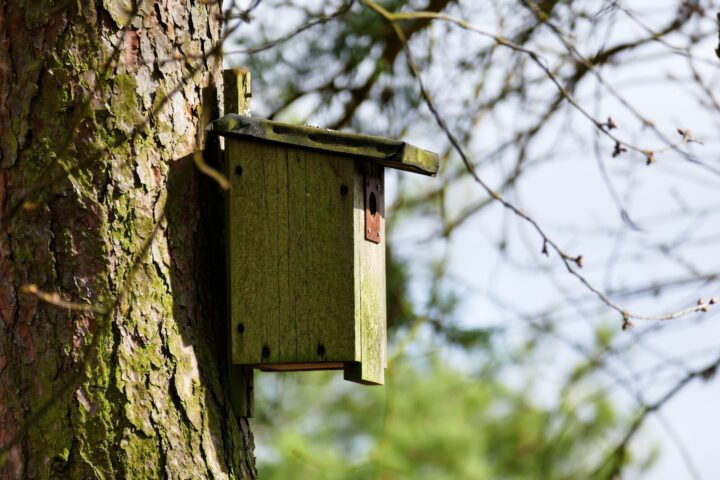
Also, you don’t have to have a specific place in your garden to put up your nest box but try to make sure:
- It’s at least two metres off the ground (that way the hatchlings and nestlings are safe),
- Warm and away from any predators,
- Out of direct sunlight and the wind.
Make your nesting box
Follwo this simple step-by-step guide to build your nesting box. All you’ll need is some wood that is 15 centimetres (cm) wide and 150 centimetres long, nails, a pencil and ruler, drill, hammer, sandpaper, and a saw.
Of course, if DIY isn’t your speciality you can buy a box. But, if you’re willing to give it a go, here’s how you can make your nest box.
Step 1
Sketch out how you want your nesting box to look. Take your plank of wood and mark out on the timber what part of the nest box it is going to be (e.g. front panel, side panel etc.).
Ideally the wood needs to 9-15 millimetres (mm) thick to give the birds the insulation they need.

Step 2
Saw your panels apart and once you’re finished take your sandpaper and smooth down the edges.
Take each of your side panels and nail them to the base of your nest box. When you have done this, nail the base of the nest box onto the side panels and the back panel.
Step 3
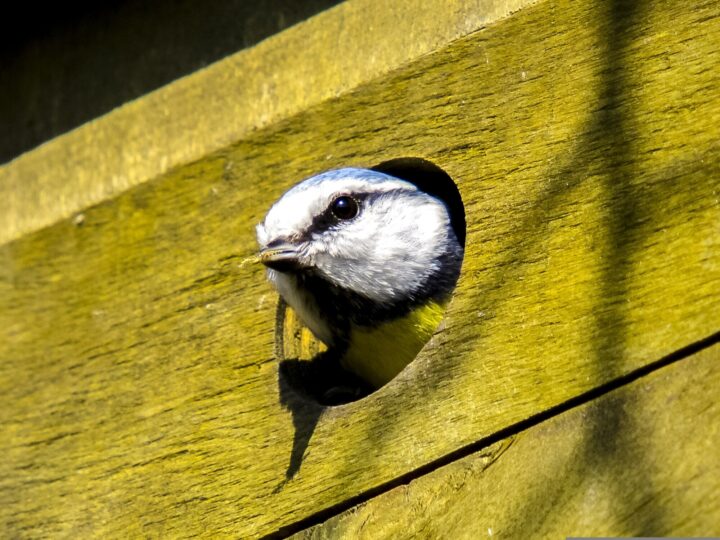
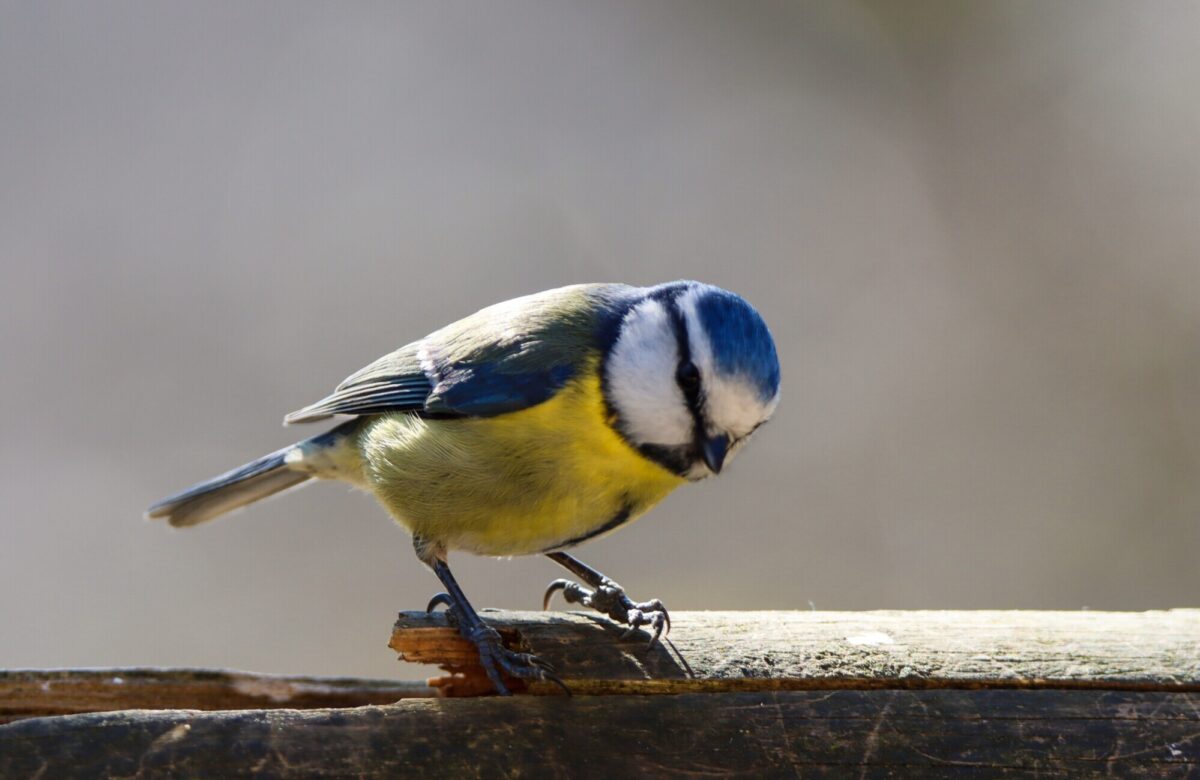
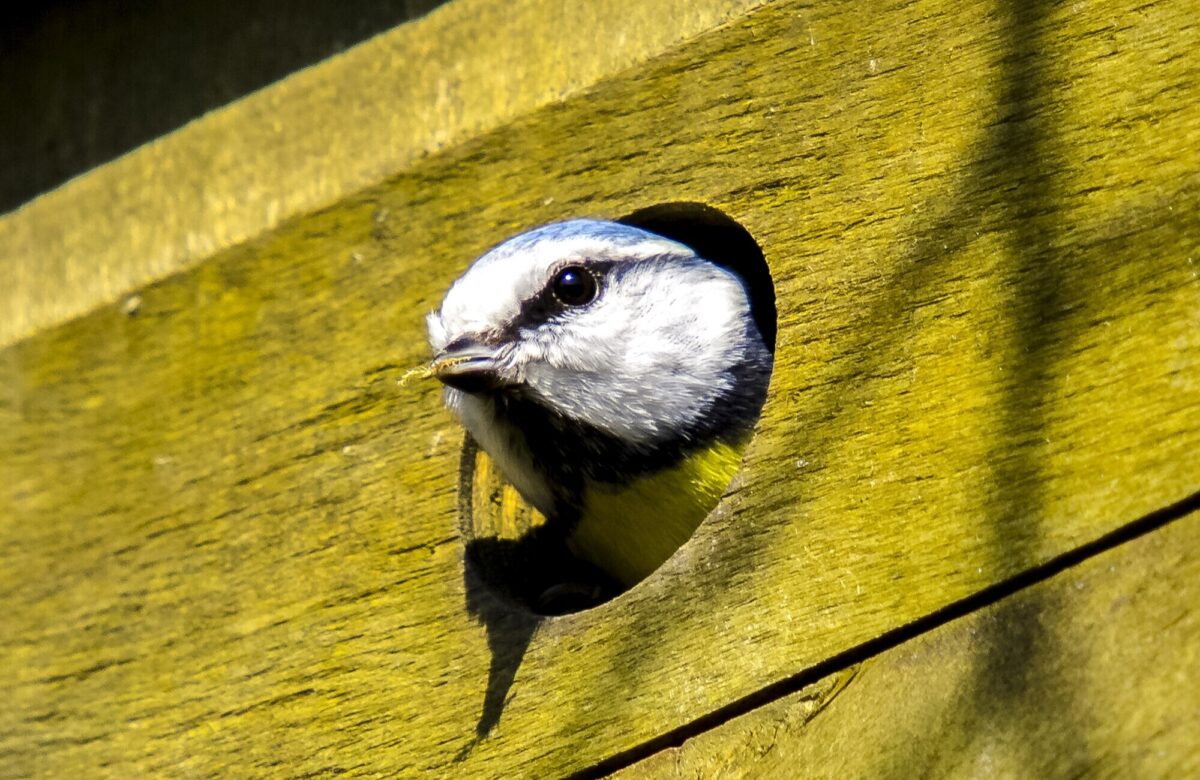
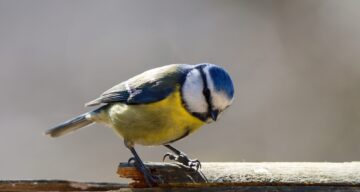
Before you nail the front panel on, make sure you drill a hole to make the entrance to the bird box. Remember, you’ll need a different size hole for different birds.
As a rule, a 25mm hole is ideal for blue tits and up to 35mm is perfect for sparrows. Also, make sure the entrance is near the top of the panel, that way it’ll stop predators from entering.
Step 4
It’s time to add a roof and there are two ways to do this.
The first is to nail the roof on but remember you won’t be able to lift it up and clean the nest box later in the year.
The best way is to attach a hinge using screws. This way you can lift the lid of the nest box.
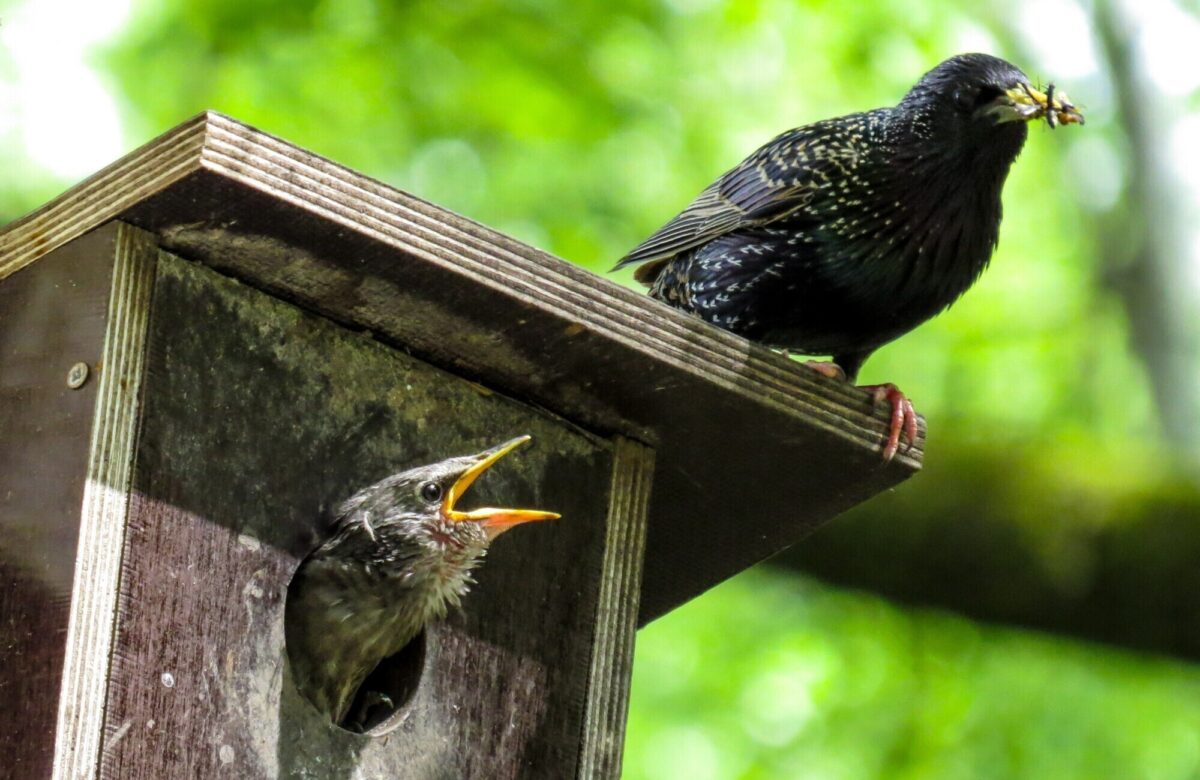
When you’ve finished your nest box it’s time to mount it in your garden. As mentioned earlier, it’s best to place it at least two metres from the ground (a fence post or a tree is ideal) and out of the wind and direct sunshine.
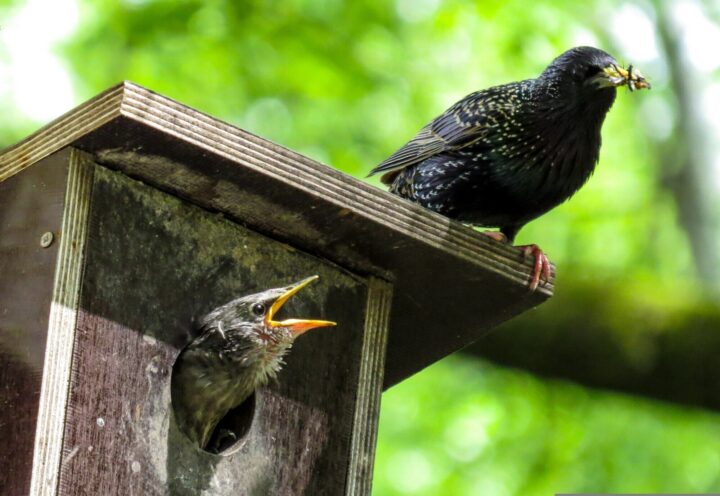
Now all you need to do is sit back and watch our feathered friends move into their new home to raise their young.
Bird box success at Belhus Woods
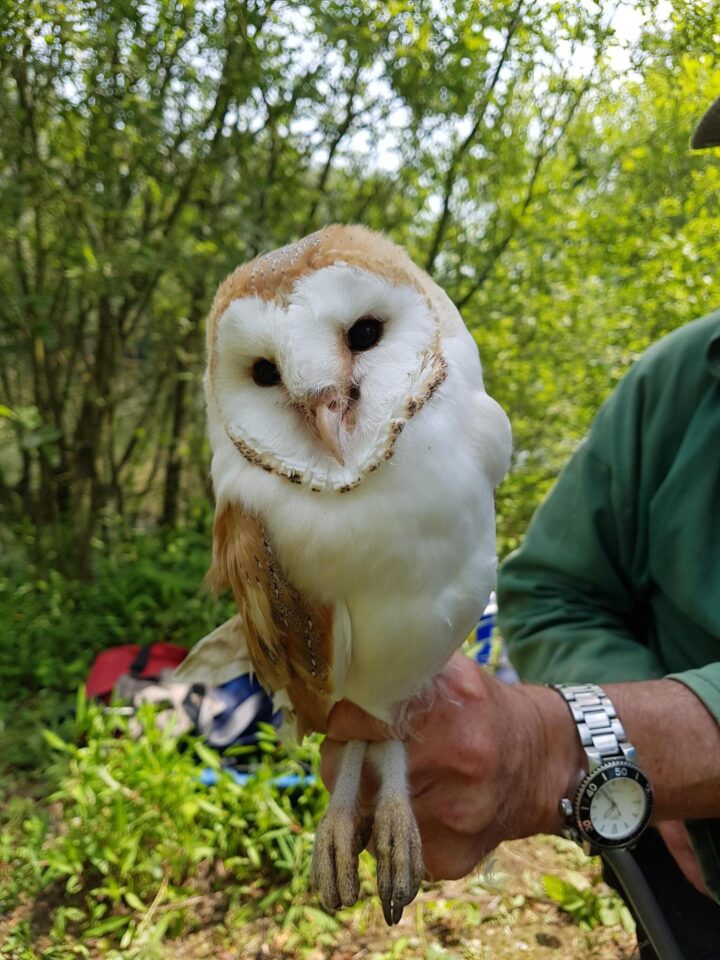
At Belhus Woods Country Park new nesting boxes have also been installed for barn owls and they've moved in straight away.
The work is part of the funded Countryside Stewardship Scheme which aims to support wildlife and biodiversity for the future.
All of the work is overseen by leading ecologists from Essex County Council's Place Services and agreed by Natural England (the government’s statutory body responsible for natural green infrastructure).


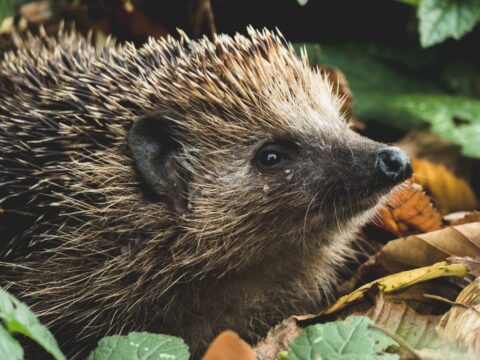
How to make your garden hedgehog friendly
It’s hedgehog awareness week so there’s no better time to make some simple changes to your garden to help Britain’s only native spiny mammal thrive.
Posted on 7th May 2021
Read article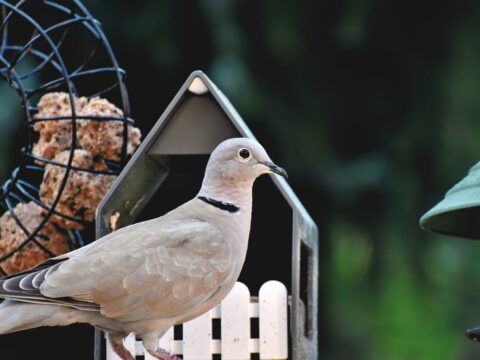
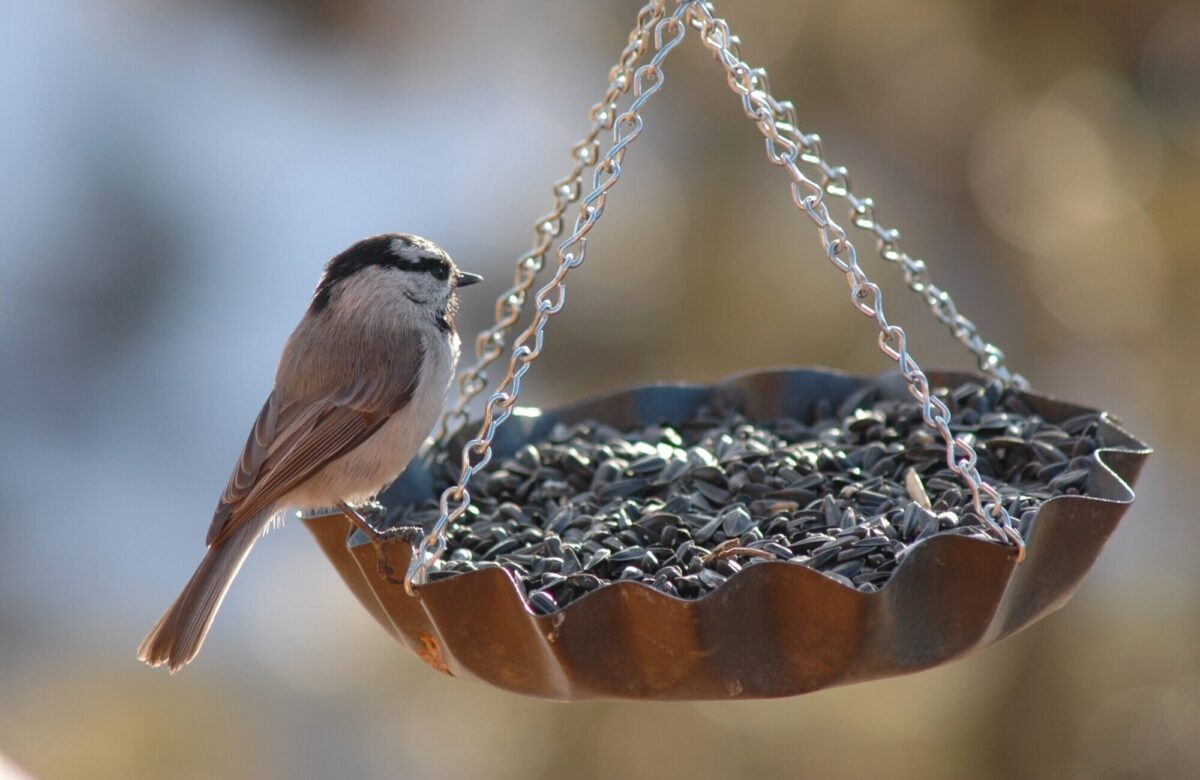
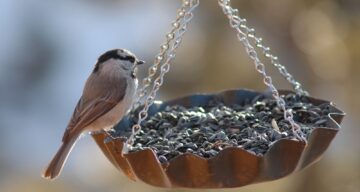
Build a bird feeder
Why not help our feathered friends by building this simple bird feeder to keep them fed during the colder months? Not only does it help our avian associates, it’s also great way to get your children interested in nature.
Posted on 20th December 2024
Read article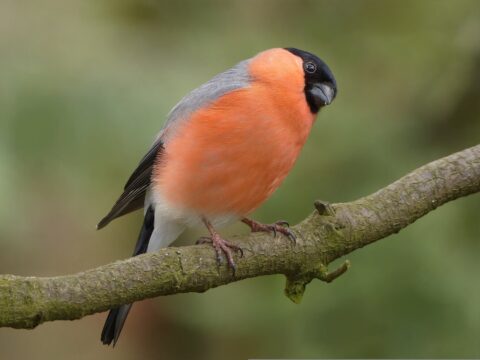
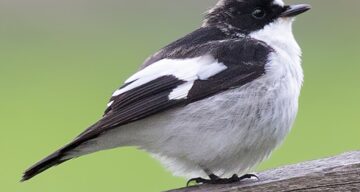
Get birdwatching in 2026
This year why not become a birdwatcher? Whether it's sitting in your garden or visiting an Essex Country Park and discovering a variety of bird life, it's a great way to relax, improve your wellbeing and become one with nature.
Posted on 12th January 2026
Read articleTagged with
Related blogs
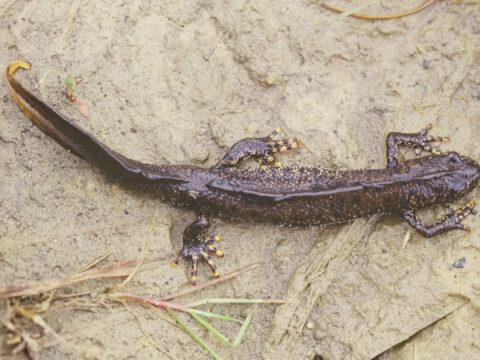
Amazing amphibians and reptiles at Essex Country Parks
Amphibians and reptiles are important for our grassland, wetland and woodlands and we are lucky to have many of the native species at our Essex Country Parks.
Posted on 1st July 2026
Read article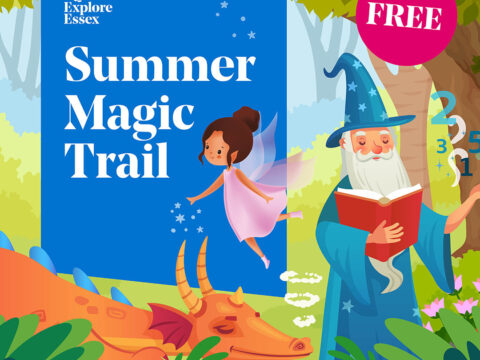
Summer Magic at the Essex Country Parks
Make it an enchanted summer at the Essex Country Parks with our free trail and more
Posted on 29th June 2026
Read article
Meet the animals helping to look after our country parks
Find out more about the livestock grazing Essex Country Parks, naturally managing grass and scrub to allow wildflowers and insects thrive.
Posted on 9th June 2026
Read article